Hampton bay ceiling fan wiring is different from fan to fan. It means that if you want to wire a Hampton bay ceiling fan, you need to consider whether your ceiling fan has a remote or not. It is because a standard ceiling fan wiring is different from a ceiling fan comes with a remote. When you complete the ceiling fan installation, make sure that you have matched the wires correctly. If you will not do it correctly, the fan won’t work. Before going through any electrical task, you need to turn off the power before installing the fan.
Contents
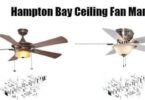
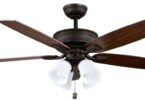
Hampton Bay Standard Ceiling Fan Wiring
Standard Hampton bay ceiling fan without a remote has an easy and straightforward ceiling fan wiring diagram. The black wire on the fan is the supply wire of the fan, the blue one is the light supply line. The blue and black wires are twisted together on the fan with the black wire from the house wiring. The green wire coming from the fan is twisted together with the green conductor house wire and the white wire is twisted together with the white house wire.
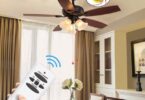
Hampton Bay Remote-Control Ceiling Fan Wiring
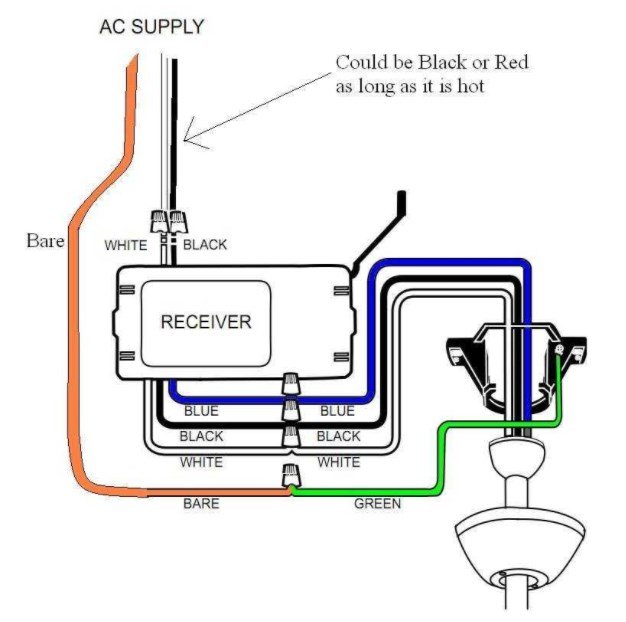
Hampton Bay ceiling fan with remote control comes with a receiver inline. The blue wire on the receiver is twisted together with the blue wire from the fan. The black wire on the receiver is twisted together with the black wire on the fan. In the end, the white wire on the receiver is twisted together with the white wire from the fan. After securing the wire connection with the wire nuts, cover the nuts using black electrical tape.
Now its time to twist the blue and black wires from the receiver together with the black house wire. The next step is to twist the white wire from the receiver together with the white house wire. Now, twist the green ground wire from the fan together with the green grounding conductor house wire and secure each set of wires using a wire nut, secure the nuts using black electrical tape.
Hiding the Wires
After securing the wires using the wire nuts and cover the nuts with black electrical tape, you must isolate and hide the wires in the outlet box. Shift the green and white wires to one side of the outlet box and move the black and blue wire to the other side of the box. Move the wires up into the box by pushing them. After fixing the wires so they don’t get pinched, secure the canopy and canopy ring to the mounting bracket.
After the Installation
After installing the Hampton Bay ceiling fan, turn on the power. Test the fan by turning it on and check whether the fan has the power or not. If it doesn’t have the power, check the circuit breaker to make sure it is on. If the power is on but the fan is not running or turning on, turn off the power to recheck the wiring or wiring connections. If any wire is not making a good connection to the house wiring or to the receiver on both Hampton bay fan with or without remote, the fan won’t have a direct current to power the fan.
What’s Next
Hampton Bay Ceiling Fans Reviews