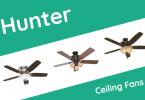
Hunter ceiling fans are designed to deliver a great amount of air throughout the room in which you install them. In some cases, you may want to remove your hunter ceiling fan. The hardware of the brand is designed in such a way to keep the removal straightforward, a normal house owner can do it if some precautions are taken.
Contents
Step-by-Step Guide to Remove a Hunter Ceiling Fan
Step 1
The first step is to turn off the circuit breaker that delivers power to Hunter ceiling fan, after doing it, confirm that the power is shut down. You can determine it by turning on the fan. if the ceiling fan is still getting power, check the proper circuit breaker has been shut down.
Step 2
After turning off the power, now remove the light fixtures and lamp shades, if you have installed these features. In some cases, you need to remove hunter ceiling fan light bulbs first. Light bulb removal will prevent the broken glass while removing the hunter unit.
Step 3
Use the screwdriver to remove the screws of the fan blades and remove blades. For Hunter units that are designed with an easy lock system, open the locking mechanism on the blade iron and push it counterclockwise to unlock the fan blades. This process makes the ceiling fan less heavy and makes the process easy.
Step 4
After removing the blades, now remove the canopy trim ring that extends to the top part of the canopy on the unit by squeezing the ring using two fingers and firmly pull it downward along many points until the ring comes off. There are some models of Hunter company that have two canopy trim rings, the same process is for both of them.
Step 5
Unscrew all the screws that connect the canopy to the mounting bracket except the screw that has a tab sticking out above the screw head. This screw will enable you to drop the canopy partly away from the mounting bracket
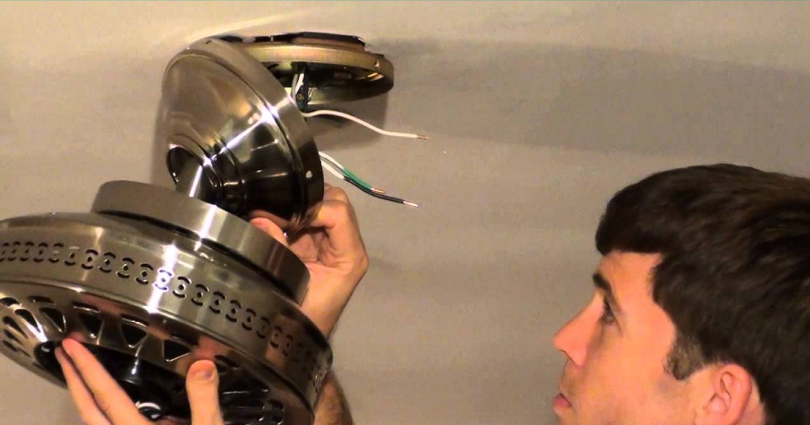
Step 6
Now swing the canopy away from the mounting bracket, with the help of a tabbed screw to pivot. Remove the wire nuts from the hunter ceiling fan motor to disconnect all the electrical connections and untwist the wires on the motor from wires running into the ceiling. You may find an attached copper-colored grounding wire to the canopy, disconnect it.
Step 7
Unscrew the last screw that holds the canopy to the mounting bracket and unhook the installation safety J-hook that lets the motor and canopy hang freely from the mounting bracket loop if available.
Step 8
Lastly, remove the screw from the mounting bracket from the ceiling planet and also remove the screws from the ceiling plate from the outlet box.
How to Remove a Hunter Ceiling Fan Youtube
That is it people. These are the steps to follow to uninstall a hunter ceiling fan.
Related Read:
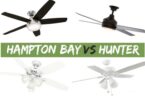
How to uninstall a Hampton Bay ceiling fan
How to Uninstall a Flush Mount ceiling fan

My circa 1980’s fan is squeaking. How do I get rid of the squeak? It’s flush mounted, wall controlled, 52 inch, no light fixture.