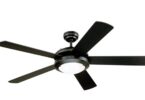
Westinghouse has become one of the leading manufacturers of many household items and appliances such as ceiling fans.
Many ceiling fan models of Westinghouse have lights. To change the light bulbs in your Westinghouse ceiling fan, you need to see the instructions available in the user manual.
Contents
Step 1 – Turn Off the Lights
The first step is to switch off the light to allow them to cool down, it can take more or less 30 minutes.
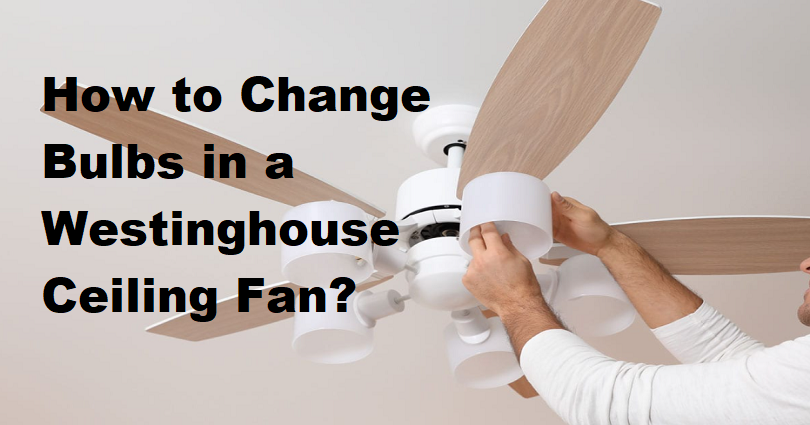
Step 2 – Remove the Light Bulb Cover
If you have a light bulb cover, get rid of it. Some Westinghouse ceiling fan models contain a glass globe that covers the bulbs. Use one hand to hold the globe up and unscrew the decorative tip at the bottom. When you free them from one another, put them in a safe place.
Step 3 – Unscrew old Bulbs
Remove the old light bulbs by unscrewing them from the sockets and turning the counterclockwise.
Step 4 – Replace the Light Bulbs
Change the light bulbs and screw them in by turning them clockwise direction. Make sure that you do not exceed the watt limit as suggested by Westinghouse for your model. Many Westinghouse ceiling fans contain three light sockets recommended for 40 watts. If the manual is not available, you can locate the information imprinted on the light socket or a sticker may be pasted near it.