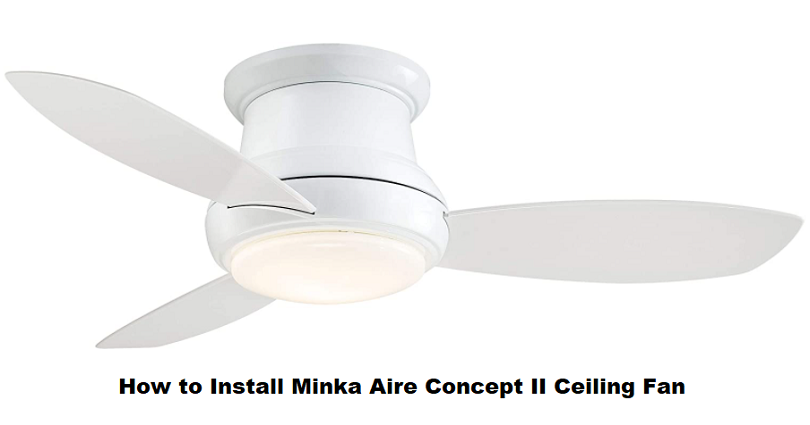
In the summer season, people living in older constructed houses with low profile ceilings will feel the scorching heat due to the low structure’s heat trap. To fight this situation, it is an ideal step to install a low-profile ceiling fan like Minka Aire Concept II. That is why we have written this guide on Minka Aire Concept II ceiling fan installation instructions so our readers will be able to know how to assemble and install a hugger fan from Minka Aire.
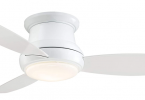
Minka Aire Concept II Fan for Low Profile Ceilings
Minka Aire Concept II installs flush against the ceiling and gets a clearance of 7 ft between the fan blades and the floor. This low profile fan comes with two blade sizes including a 44-inch that is suitable for rooms 110-150 square feet in size, and a 52-inch blade set ideal for rooms 150-300 sq ft in size. The three furniture quality blades install directly into the motor housing without using any washers, screws or tools.
Tools Required
- Ladder
- Phillips-Head Screwdriver
- Straight-Slot Screwdriver
- Pliers
- Wire Cutters
How to Install the Minka Aire Concept II Ceiling Fan
The Minka Aire Concept II ceiling fan installation process consumes 75 percent less time to complete installation as compared to the traditional ceiling fans. switch off the power from the circuit breaker to start the process and make sure all the ceiling fan parts are available in the package. Use the instruction manual that comes with the fan and the steps in this guide below:
- Secure the hanger bracket with the help of screws and washers given to the hanger bracket
- On the hanger bracket, hang the motor assembly from the hook
- Connect the motor wires to the receiver wires and the receiver wires to the house supply wires, use the plastic wire nuts given to secure all wire connections
- Loosen the both screws that are available with the keyholes and unscrew the other two screws from the hanger bracket
- Take the motor housing to the two keyhole screws by lifting it and twist it lock it in its place
- Reinstall the two screws previously removed and secure all the four screws by tightening them
- Place the fan blades into the slots available on the motor housing until they are fit
- Install the 100-watt light bulb that comes in the package into the light socket available in the motor housing
- Lastly, attach the glass shade to the motor housing and fix it by turning it clockwise
After completing the Minka Aire Concept II ceiling fan installation, adjust the test speed and lighting of the fan with the help of 3-speed handheld remote control. Concept II fan by Minka Aire can be used indoors as well as outdoors for installation. The UL-rated ceiling fan can be installed in wet locations including exposed patios, gazebos, and porches etc. These fans come in different finishes and sizes that add a contemporary and transitional look to your home décor.