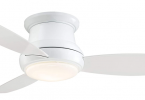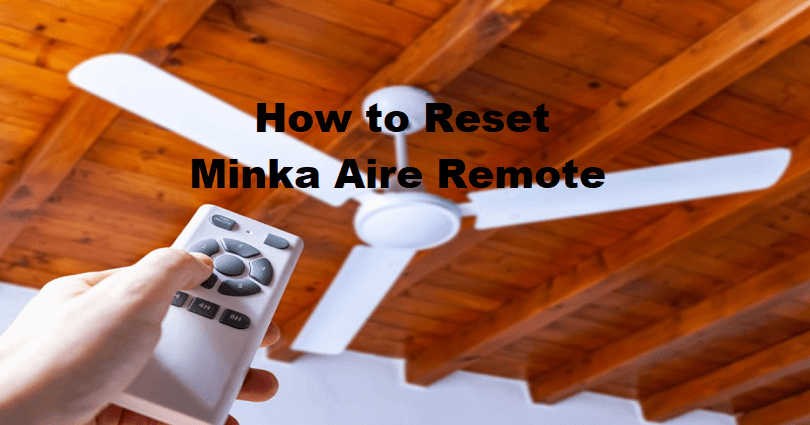
When you get a Minka Aire fan, the best feature of using it is that it comes with a receiver that help you to control the fan using the remote from your bed or couch.
Like all other branded remotes, Minka’s remote can also get stuck for any reason.
Whenever you come across this situation, do not rush to get a new one, the reason is, most times, you do not have to buy a new one a reset can get the job done and get it back to normal.
There are different methods you can use to reset a Minka-Aire remote.
The easiest way is:
- Turn off the fan from the remote control
- Wait for at least 30 minutes
- Press and hold the power button on the remote for at least ten seconds after that, switch on your fan like you do.
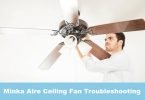
While your remote not working can be an irritating experience, this article will help you to do a few easy steps in order to handle whatever is causing the situation.
Why should I reset my Minka-Aire remote?
If you are changing the settings on a regular basis, at times, the cache of the remote gets full, resulting in spoilt.
In such a situation, the ideal thing is to reset the remote back to its normal settings, as this process will stop the problem that is causing the problem.
Alternatively, before you use your ceiling fan, it is essential to reset it in order to resync the frequency.
The reason is, when the ceiling fans undergo the making process, they are tested to sync in order to confirm that each works and recognize the frequency of one another.
When the package of the fan reaches your home, there is a great chance that it may pair with other electronic appliances, because most remotes are universal.
That is the reason it is imperative to reset and resync the remote so the remote remains connected only to your ceiling fan.
How to resync a Minka-Aire remote
To reset a Minka-Aire remote, follow the given steps:
- To find the battery pocket, open the back of your remote and remove the battery.
- To flip the frequency settings up and down, it is wise to use a small tool such as a toothpick. It will be the metal thing on the top right where your battery will be located.
- Put your battery into place.
- Turn the ceiling Off and then On again.
- Before the completion of the one minute after turning on the ceiling fan, press the Stop sign on your remote and hold it down for at least 5 seconds.
- A light flicker will be shown on both your remote and the ceiling fan receivers, it shows that both of them have recognized the frequency of each other.