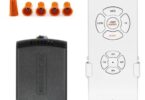
Now ceiling fans are coming with remote controls. The main purpose of getting a remote control is to operate/control the ceiling fan without moving from your seat. It will save you from the extra effort. The remote control can be used to change the speed of the fan or to get the preferred amount of air in your room.
Despite the convenience, the ceiling fan remote can stop working suddenly. For example, it may fail to turn the fan on or off or the fan does not respond to the remote due to frequency issues. In this case, you need to troubleshoot the ceiling fan remote to fix the issue.
The remote can also stop working due to the low battery. If the receiver in the ceiling fan stops working, the remote will not function. You may need to reset ceiling fan remote or reprogram your ceiling fan remote to make sure it starts working again.
Contents
Steps to reset your ceiling fan remote
Here are some steps you can follow to make sure that the fan remote works again.
1. Change the remote control frequency settings
If the ceiling fan remote has frequency issues, you can change its settings with the help of these steps.
- Firstly, turn off the power from the main supply
- Now, unscrew the canopy on the fan from its mounting bracket
- Now, remove the receiver
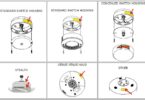
- Find the dipswitch settings on the receiver. The settings look like buttons.
- Slide the buttons up or down to set up a new combination
- Note down the new combination
- Return the receiver to its original position and screw back the canopy
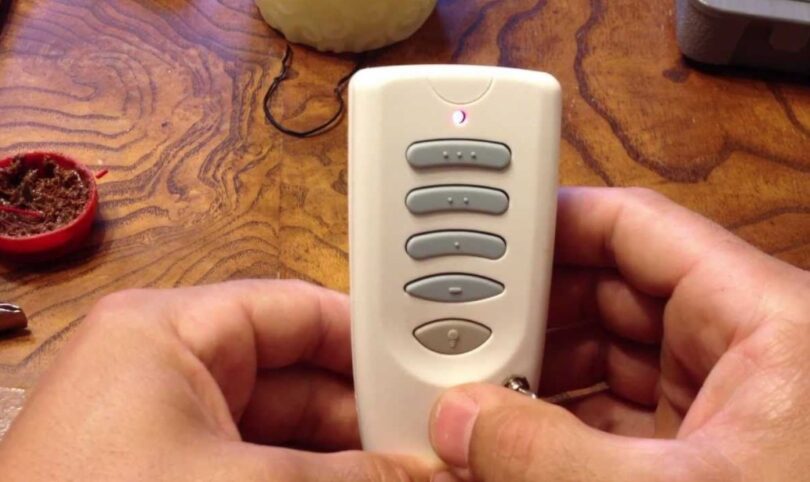
- Remove the battery from the remote
- You will see the settings of dipswitches inside the remote.
- Change the settings to the same combination you noted down from the receiver. This will sync the ceiling fan remote with the receiver.
After completion, insert the battery and cover the remote. Turn on the main supply power. This process will enable the remote to work again due to the change of frequency settings.
2. Reset the fan remote
If you want to reset the remote:
- Turn off the ceiling fan with the help of a remote
- Wait for about 30 seconds before turning the power on
- Within those seconds, hold down the off button on the fan for about ten seconds
These steps will reset the fan remote of your ceiling fan.
3. Pair the fan with remote
To pair the ceiling fan with remote, follow these steps:
- Firstly, disconnect the power from the fan
- Turn the power on after two minutes
- Within those two minutes, press and hold the light button and fan button on the remote at the same time for five seconds
- You should see lights flashing
At this point, the ceiling fan will rotate slowly and it will be a sign or confirmation that you have paired the fan with remote successfully.
If the ceiling fan remote is not working, the first step is to check the batteries whether they are working or not or they have enough power to control the fan. Secondly, make sure that all electrical connections are correct as described in the manual. You should also check the channel selector switches that whether they have the same settings or not, both in the handheld and module. After doing all these steps, your ceiling fan remote is not working? Consider getting a replacement remote for your ceiling fan.
Related:
How to Program Quorum Ceiling Fan Remote
How to Program Harbor Breeze Ceiling Fan Remote