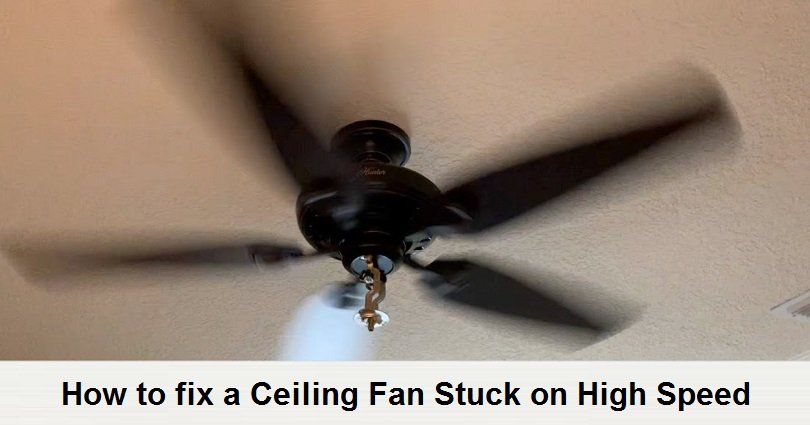
Is your ceiling fan is working only at high speed? We mean to say that is your ceiling fan stuck on high speed? If yes, you may be thinking of getting a new ceiling fan for your home, but it is possible to repair the fault with the help of standard tools. The replacements (switches and capacitors) are also available.
Contents
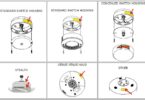
What are the Reasons that the ceiling fan stuck on high speed?
Why does the ceiling fan stuck at one speed? There are two reasons why the ceiling fan is only working on high speed:
- The capacitor is defective
- The switches of the fan have malfunctioned
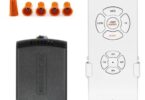
- A faulty remote
Tools Required for fixing your fan
If the problem is with the remote control, you can reset the remote. When the remote is not the problem, fixing a ceiling fan stuck on high speed can be a technical issue. That is why you need to get these tools:
- Standard screwdriver
- Jumbo paperclip
- A standard stepladder
- Replacement capacitor and switches
- Voltage tester (noncontact)
How to fix a ceiling fan that is stuck on high speed
You need to follow these steps to fix a ceiling fan that is stuck on one speed:
Step #1: Replace the Ceiling fan’s capacitor
The first step you need to take is to check the capacitor of the ceiling fan, if you cannot adjust the speed of fan. The new capacitor should be similar to the defective one for the fan to work properly.
To change the capacitor of ceiling fan:
- Firstly, switch off the circuit breaker of the home
- Now, unscrew the fan’s housing
- Find the wires of the capacitor
- Cut the two wires connecting the old capacitor
- Change the capacitor (red wire to the first terminal and the neutral wire to the second terminal).
- Connect the new capacitor to the power supply of ceiling fan
- Switch the house circuit breaker on
- Lastly, try to adjust the speed of the fan.
If you are purchasing a new capacitor from anywhere whether it is from an online store or a local store, you need to ensure that it is compatible with your ceiling fan. The same instructions apply in both cases. You need to know about the ceiling fan wiring guide to make sure that your wiring is right.
Step #2: Replace the Switches of Fan
All ceiling fans come with internal switches to control the speed of the blades. Since the primary material in all the switches is plastic, they are more likely to get damaged. That is why, switches break due to chain pulls, ceiling fan may be faulty at the unit’s throat in some cases. The ceiling fan will not change speeds because of these damages, even the capacitor is working fine.
To repair the fan’s switches:
- First of all, turn off the circuit breaker
- Use the noncontact voltage detector to detect the electric wave. If the detector senses an electric wave, it will beep and flash.
- Locate the plate of the switch (usually under the ceiling fan)
- Now, unscrew the switch housing
- After unscrewing the switch from its housing. (Do not disconnect the wires yet)
- Recognize the numbered wires (1, 2, and 3) and the wire with letter L. Now note the wire color for the sequential steps.
- Disconnect the switch wires
- You need to replace the old switch with the new switch
- Use wire connectors to snug the new connections.
Before changing the switches of the ceiling fan, make sure that the replacement is similar in design. If you are not sure about the perfect switch replacement, go to the local store by locating your model number. Changing the switch with the appropriate model will solve the issue of ceiling fan speed problem.
Final Words
The capacitor and switch damage can keep the ceiling fan stuck on high speed. Changing the two elements will enable you to change the speed according to your desire. The process is simple but you need the recommended tools for the sake of safety.