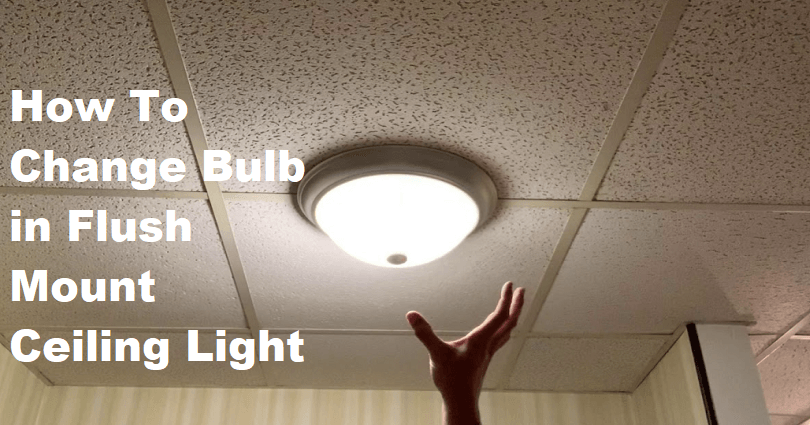
Many home owners use flush mouth ceiling lights in their homes because they are energy efficient and they also do not use much space. however, a lot of homeowners do not know the method of installation and that is why it will a hard task for them to change the bulb when it loses its power.
If you are not familiar how to change bulb in flush mount ceiling light properly can result in frustration and you might end up with damaging something. So in this article, we are going to show steps on how to remove LED flush mount ceiling light and after that replace them.
Contents
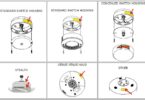
What Is A Flush Mount Ceiling Light?
A flush mount simply stands for the light or fan that sits directly against the ceiling. The fixture does not use a rod to hold it whether it is a fan or a light, thus you will save vertical space due to them. Many households convert their downrod ceiling fan into flush mount ceiling fans or lights to make some room.
They are also used in corridors or hallways and most times as great décor. You may have to be familiar with cutting plastic ceiling light panels in order to do the flush mount ceiling light installation, depending on the type of house.
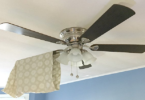
These ceiling lights come with a light coverage that will allow you to remove the cover before you can reach the bulb. Most times, the hard part of replacing process is removing the light cover itself, and the method can be different from model to model.
What Do You Need To Change A Flush Mount Ceiling Light?
To change led bulb in flush mount ceiling light, you will require a few things to do the job such as:
A Ladder Or Stepladder
Keeping in view the functionality of the flush mounts, they are often installed higher and it is not easy to access them. So, the best way to reach the light cover is by using a ladder. Be sure that your ladder is stable and properly sized. Due to this, you will be able to change it easily and smoothly.
Screwdriver
Often light covers are attached with the help of screws on the side. To unscrew them, you will have to get a screwdriver of the proper shape and size to remove the screws. Although the procedure of attaching a light cover may be different, depending on your flush mount light, needing a screwdriver is not necessary in every case.
Duct Tape
It is not always required, duct tape is useful when it comes to wrapping around the light bulb. It boosts the unscrewing process and makes it easier and safer to complete as it provides a solid grip on the bulb and keeps your hand safe too.
How To Change LED Bulb In Flush Mount Ceiling Light
There are different methods that can be used to remove the light cover of your flush mount light and it entirely depends on the method you used it to attach it. just keep in mind that switch off the lights and wait for at least 10 minutes for the bulb to cool down before you try to touch it or change it. There are three ways which are:
Screw Mounted Light Cover
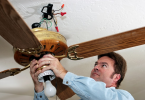
This light cover contains 4 screws in order to attach it to the ceiling. To loosen the screws, you will need a screwdriver. just remember while loosening the screws, ensure that you hold the dome or cover it using one hand to prevent it from falling. Hold the light cover using both hands after unscrewing all the screws and gradually put it down.
Notched Light Covers
They do not come with screws but are designed with a notch mechanism, when you press it, it will be ready to twist the cover off. This type of light cover is easy to take off, the only problem is finding the notch. Most of the notches are found at the top of the light cover, close to the ceiling.
Spring Loaded Covers
Sometimes a frame holds some light covers that are fixed from clips and springs. It will be difficult for you if there are recessed clips as you will need to be familiar with the removal process of recessed lighting clips.
To loosen the ring, you need to squeeze the clips on the sides. You will be able to see the springs by pulling the ring down, and you can remove the clips from it. Then, it will remove the light cover and the bulb will be exposed.
Once you have removed the cover, wrap duct tape around the light bulb and after that, unscrew it. After removal, screw in the new light bulb in your flush mount light fixture and install the light cover again.
Final Words
After going through this guide, you should be able to know how to change bulb in flush mount ceiling light. After getting all the instructions on how to remove the light cover, the next steps are quite easy. Just keep in mind to take precautions and get a ladder to reach the bulb if necessary.